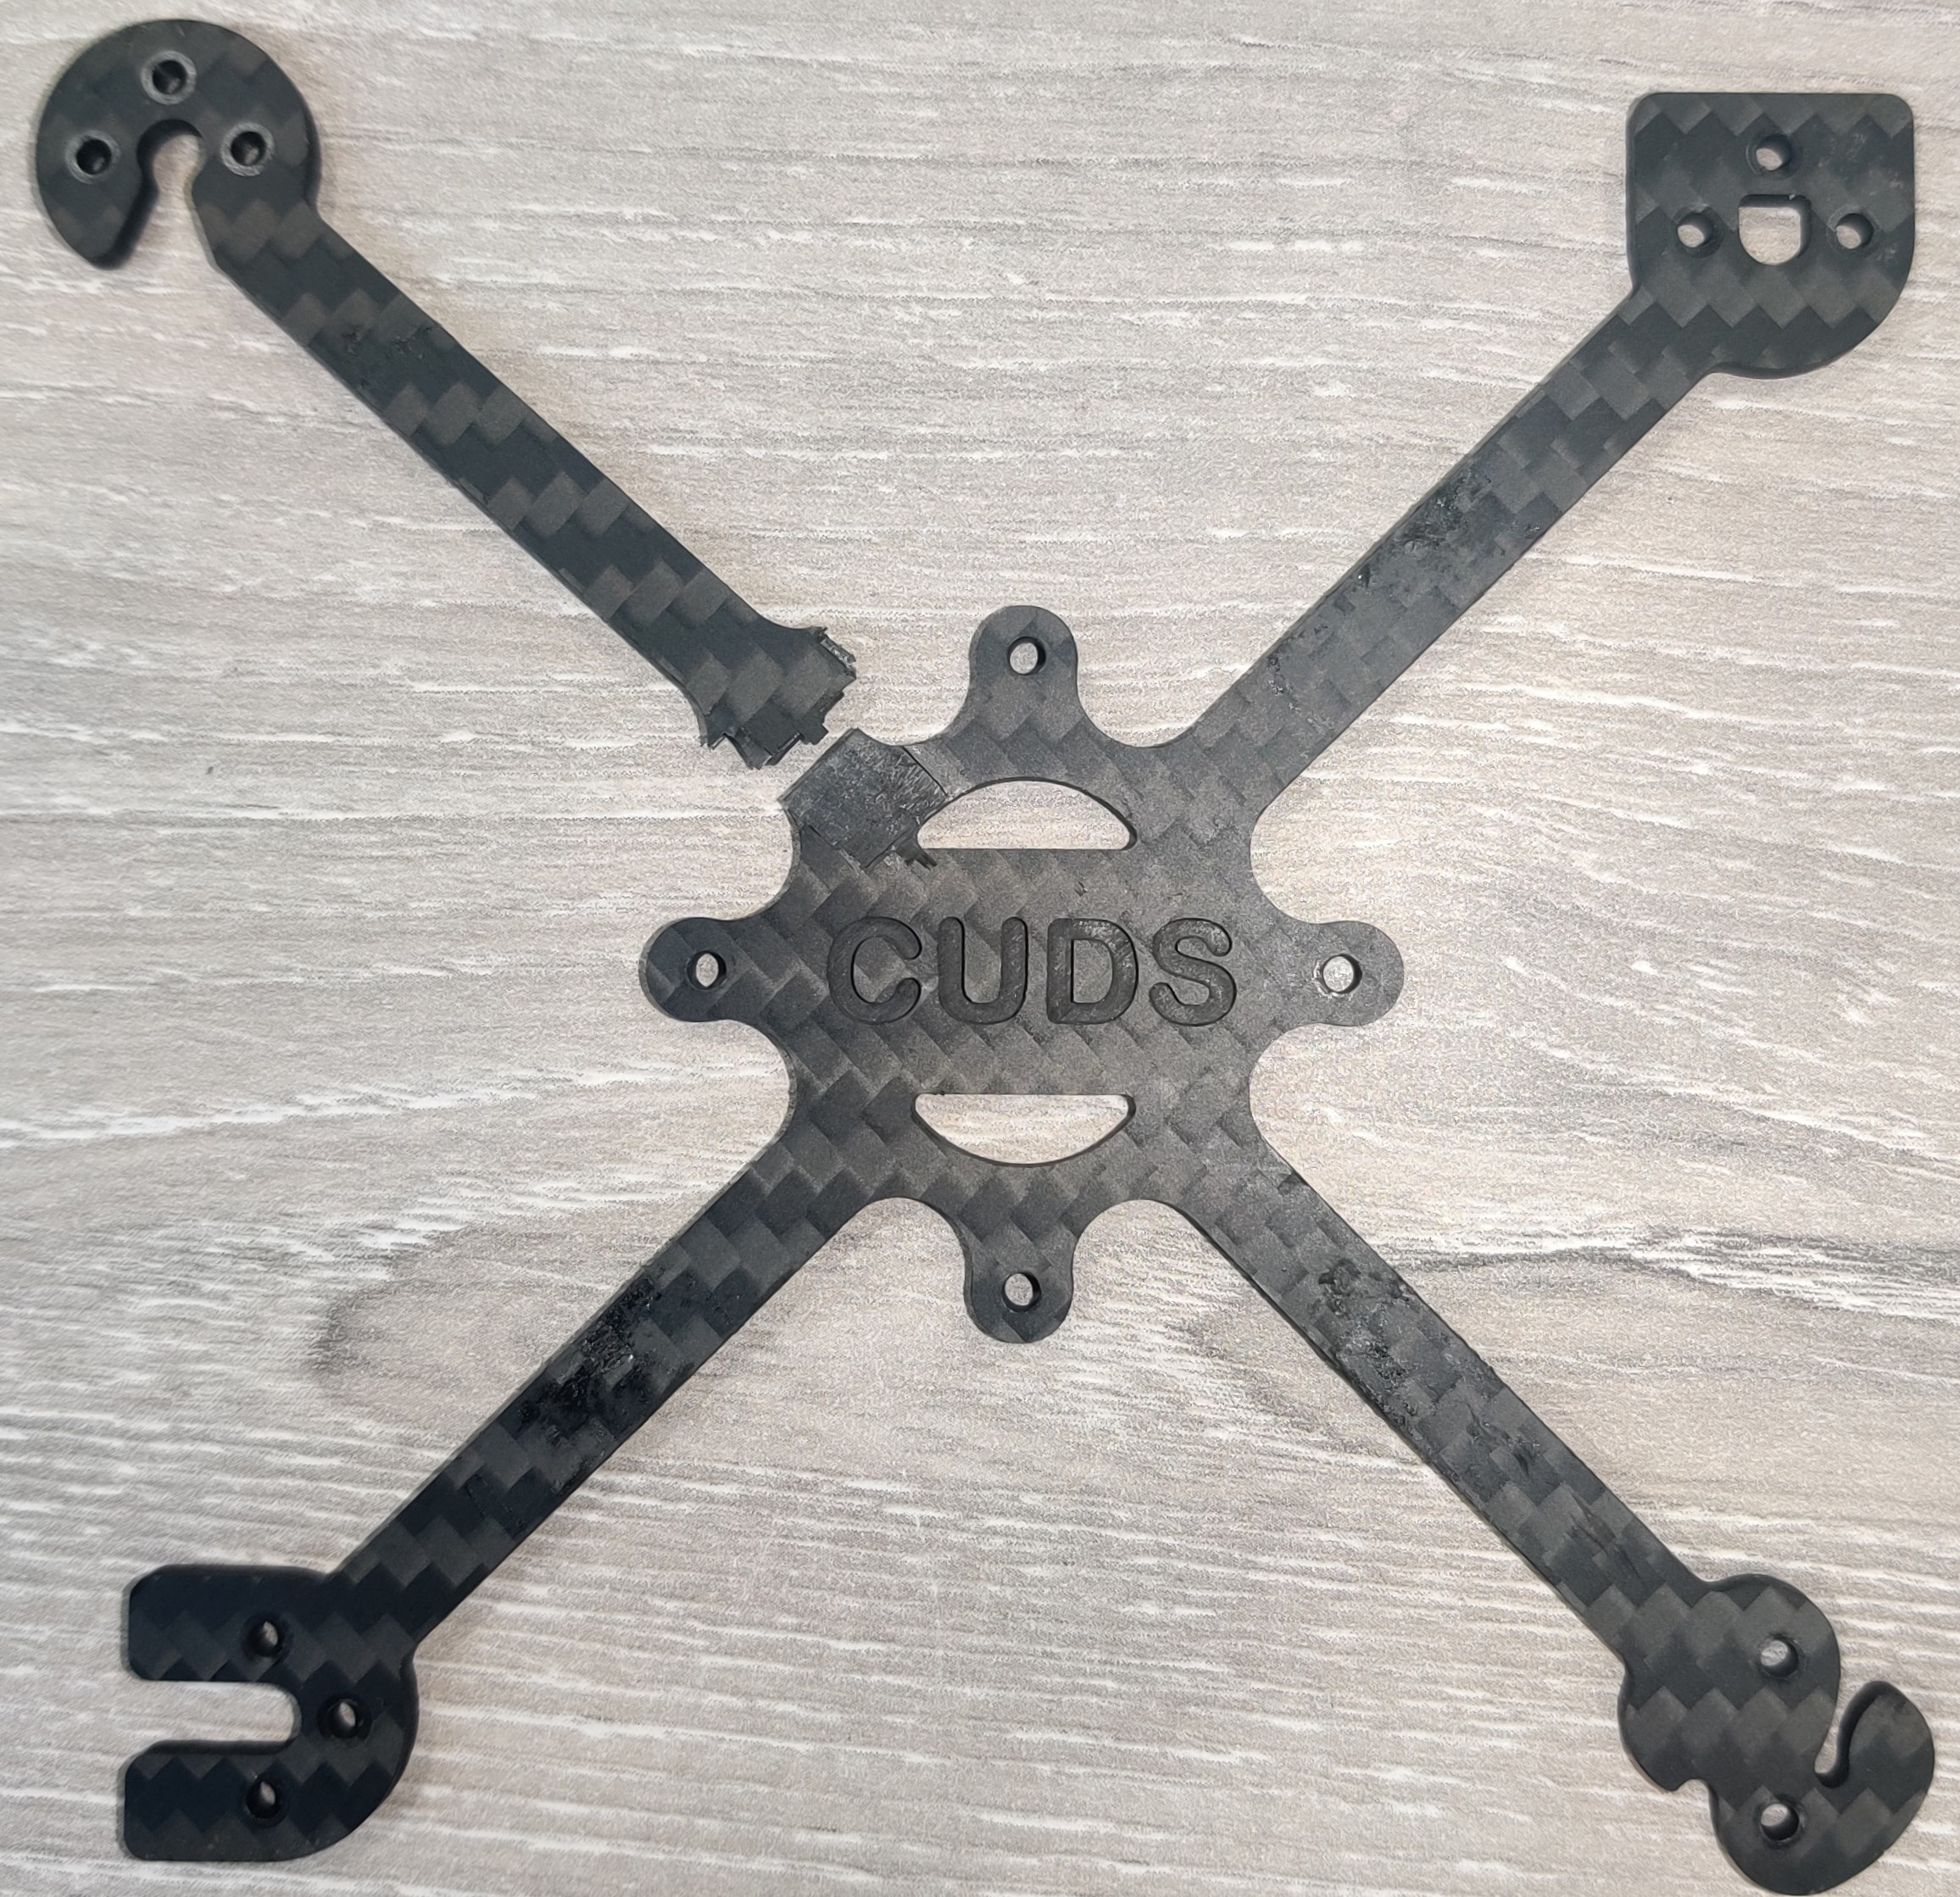
It’s been two years since I designed my own CUDS Toothpick frame. It finally broke! In my previous post, I shared my experience designing this frame, and I have been eager to post an update on how this frame will hold out. It’s survived far more crashes than I expected – I once flew it into a goal post, and it survived with some minor paint marks on the frame. In this post, I will share details about the final crash, and improvements in the next revision.
The Crash
It was a bright and sunny afternoon, when I decided to take my drone for a spin with the other members. I was testing how fast I can fly close to the ground, and suddenly I tried to weave around an obstacle, but caught an arm on the ground.. and there lay my severed arm. Although I didn’t record the crash, we have some footage of the day on our Instagram.
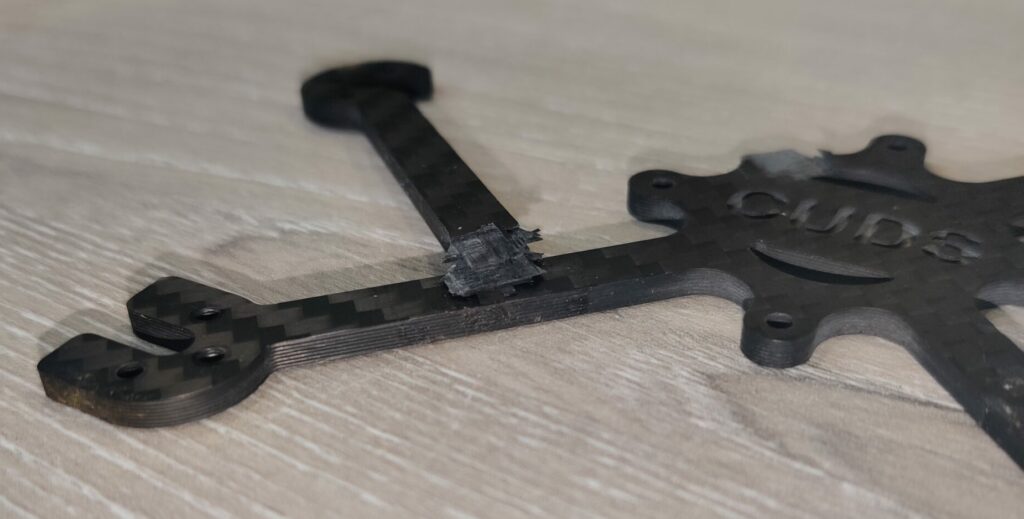
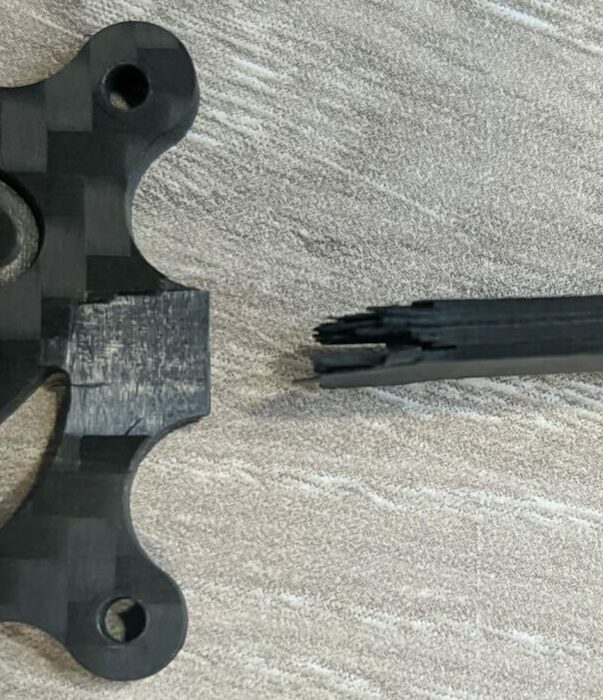
The images on the right show the fracture on the carbon fibre frame. The arm has been cleanly torn from the base. The tear is so clean that the arm could be attached back on to the frame as if it hadn’t been torn at all. This suggests that the weakness in the joint is caused simply by the thickness of the carbon, not due to the geometry of arm meeting the base of the frame.


Toothpick Frame Revision 2

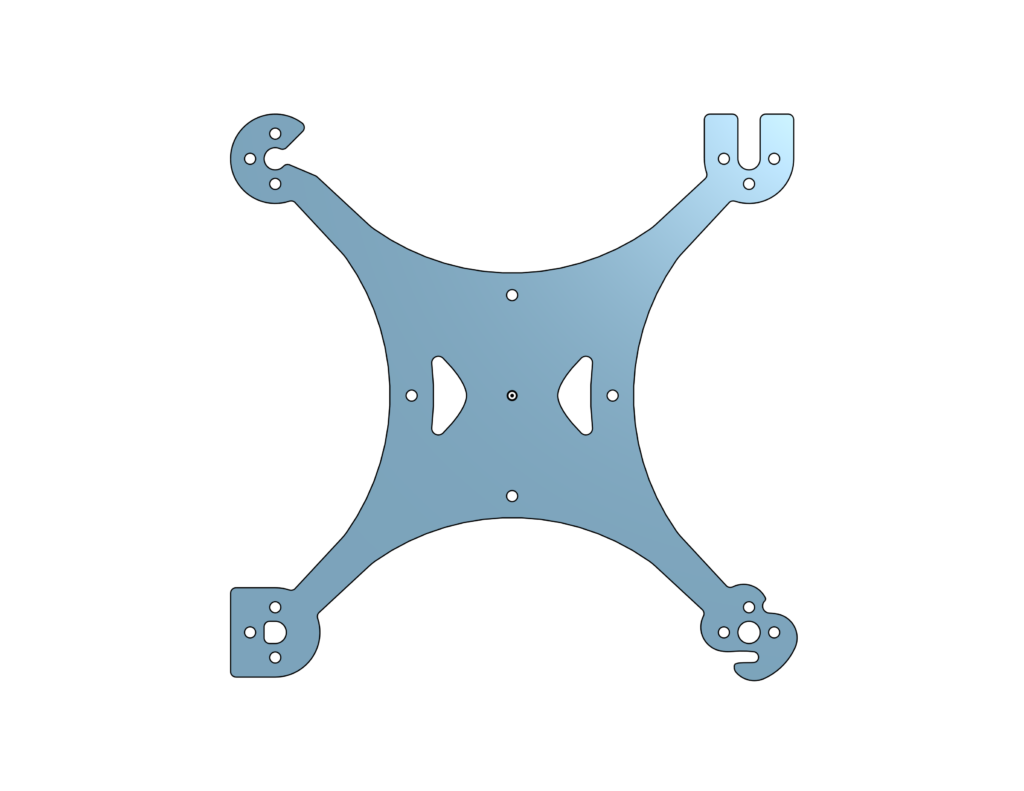
This is v2 of the CUDS Toothpick frame! This was designed in Onshape (unlike the previous design using SolidWorks). These were the adjustments made
- Increased thickness of the bottom plate from 2.5 mm to 3 mm
- Redesigned S-shape
- Increase hole diameter for battery strap
- Moved battery strap holes away from arm axis
- Added wide side braces
The new specification of the CUDS Toothpick frame is largely the same:
| Type | 3″ Frame |
| Wheelbase | 120 mm |
| Motor Mounting holes | 9 mm x 9 mm |
| Flight Controller holes | 25.5 x 25.5 mm |
| Bottom plate thickness | 3 mm |
This frame will be placed on order to be manufactured by Armattan Productions. In the next blog post, I will design and 3D print a canopy to fit this frame.
